
Three-side seal
Three sealed edges and an open side for filling, then final sealing. A simple flat format to compare for single portions or compact packs. Confirm seal width and usable fill space.

PREMADE POUCHES
Compare pouch shapes, closures and materials around your product and filling method.
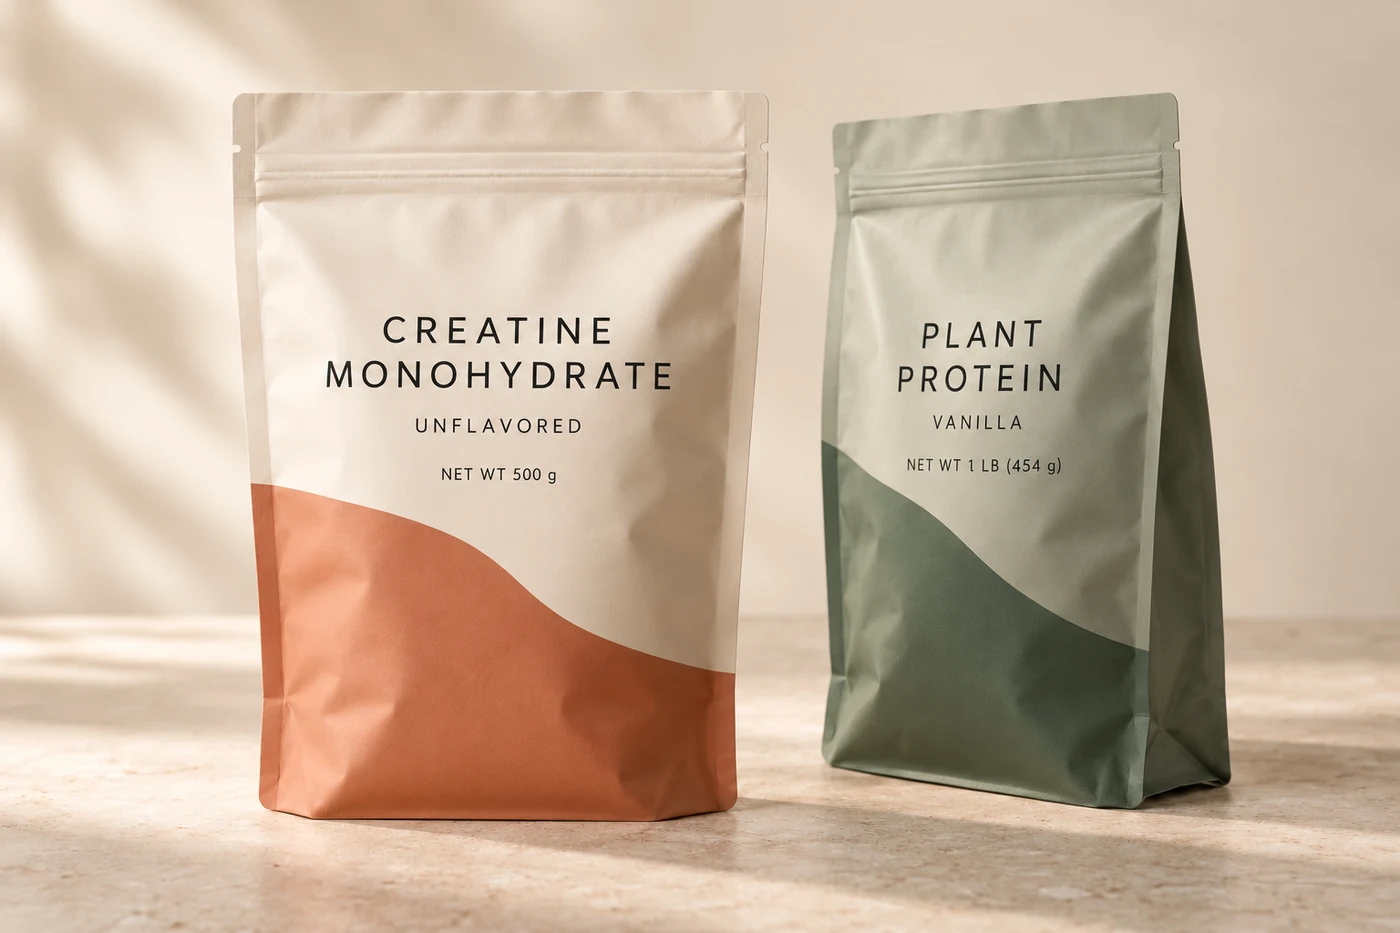
SEE HOW THE PACK WORKS
Front appearance, bottom folds and filling access each affect how a pouch is specified.

YOUR PACKAGING CHOICES
Supplier reference images illustrate bag shapes. Materials, closures and dimensions are specified separately.
Three sealed edges and an open side for filling, then final sealing. A simple flat format to compare for single portions or compact packs. Confirm seal width and usable fill space.
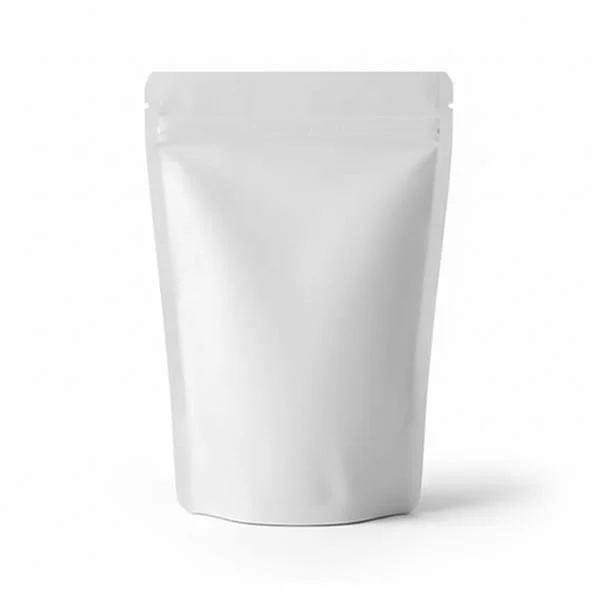
A bottom gusset opens under the filled product to support shelf display. Compare the front and back print area, bottom gusset, zipper position and filled stability.
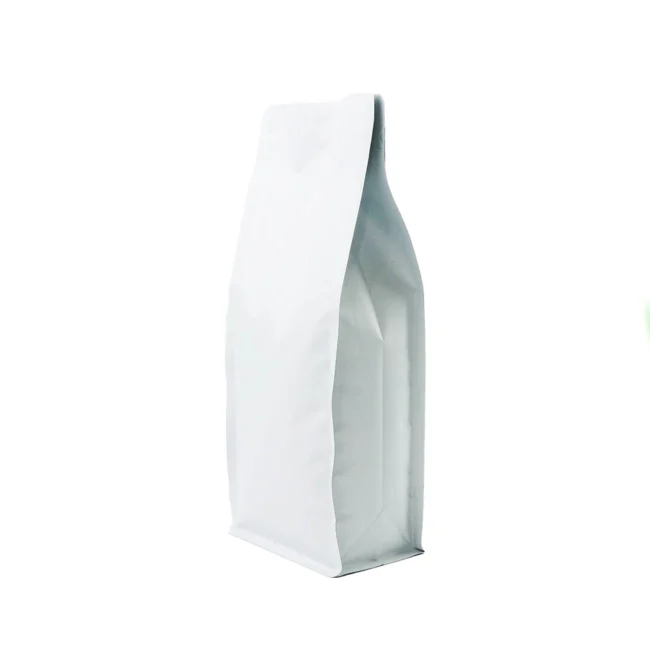
An independent flat base and side panels create five display surfaces. Consider it when shelf stability, capacity and additional brand space matter; review the filled pack and construction cost.
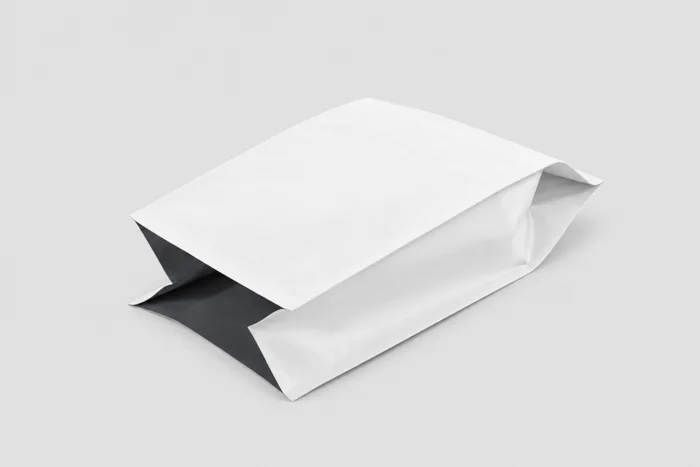
Four longitudinal corner seals define the front, back and side panels. The base differs from an independent flat bottom; assess filled stability and compare manufacturing cost for the same specification.
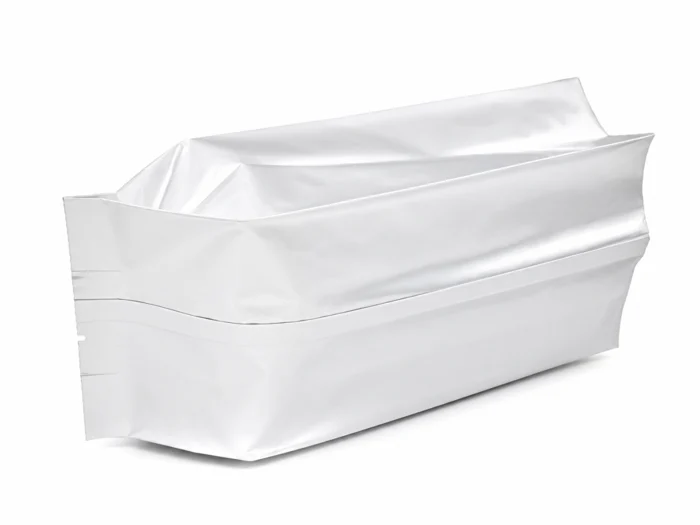
Folded side gussets expand as the bag is filled; the back seam closes the film. Review fold depth, filling access and the filled base rather than assuming flat-bottom stability.
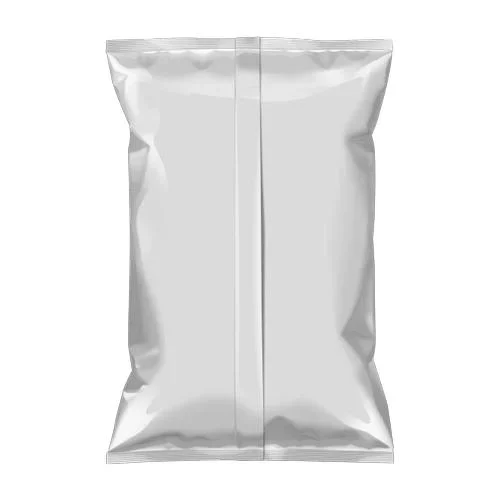
A back seam and end seals leave the front panel uninterrupted for artwork. Confirm whether your project needs supplied bags or rollstock formed on a compatible machine.
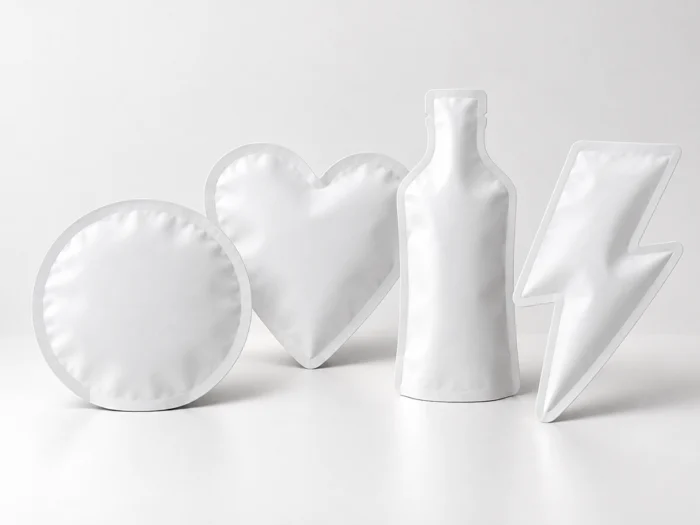
Custom die-cut outlines can make the pack recognizable. The shape, usable volume, edge seals and opening design need to be developed together with tooling and filling requirements.
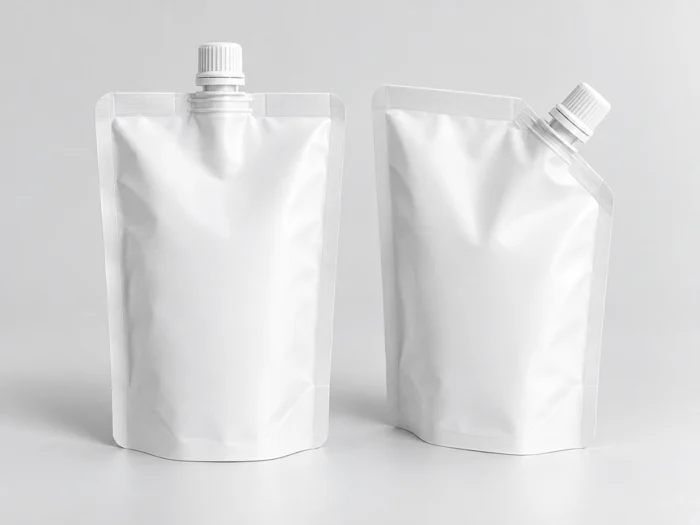
A pouch body with a spout and cap for liquid, semi-liquid or paste products. Specify spout position, bore, cap, product viscosity and whether filling will use the spout or an open pouch edge.
YOUR PACKAGING CHOICES
Choose features around how customers open, dispense and store your product.
Discuss tear notches, tear-open zipper arrangements or internal resealable zippers. A zipper supports repeated access; it does not replace the agreed initial seal.
Round or slot-style hang holes can support display. Keep them clear of the filled area and coordinate their position with the final pouch drawing.
Child-resistant zipper options require a defined design and appropriate evaluation before any child-resistance claim. A valve shown in a sample is an optional component to confirm for the product, not a standard feature.
YOUR PACKAGING CHOICES
A bag shape alone does not establish heat resistance.
The supplier reference discusses boiling and retort applications, including a common 121°C process. This is a starting point for specification, not a temperature rating for every pouch. Share temperature, holding time, pressure, cooling method, product formulation and storage requirements. Confirm the laminate, sealant, adhesives, spout and closure as one pack, then evaluate filled samples under the intended process.
Retort constructions may use different shapes, including flat, stand-up, flat-bottom or spouted formats, subject to the complete specification.
YOUR PACKAGING CHOICES
Select barrier and contact layers independently of the bag shape.
Share moisture and oxygen sensitivity, light protection, oils, acidity, alcohol content, temperature exposure and intended shelf life. Compare complete laminates with their thicknesses and test conditions.
Explore the functional material layers ↗YOUR PACKAGING CHOICES
Samples and drawings make the discussion more specific.
Minimum quantities, tooling, production timing and sample arrangements are quoted for the chosen pouch.